- Working for us
- Touchdown zones
- Staff Rewards
- Staff Voice
- Democracy
- HR
- Learning and Development
- Health & Wellbeing
- Occupational Health
- Health & Safety
- IT Support
- Working for us
- Touchdown zones
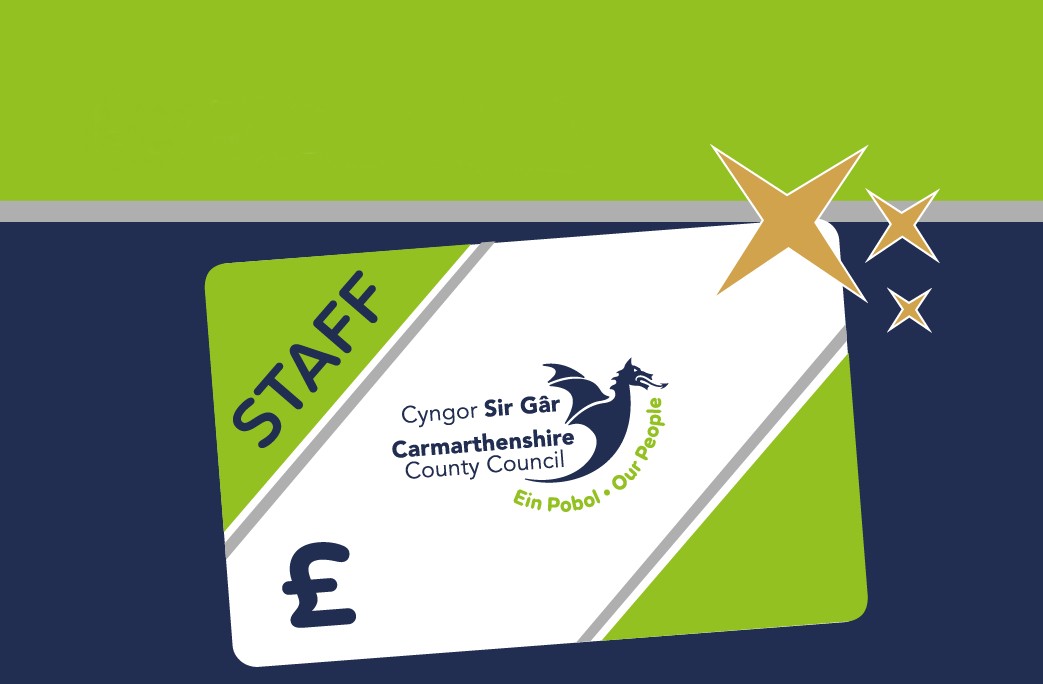
- Staff Rewards
- Staff Voice
- Democracy
- HR
- Learning and Development
- Health & Wellbeing
- Occupational Health
- Health & Safety
- IT Support
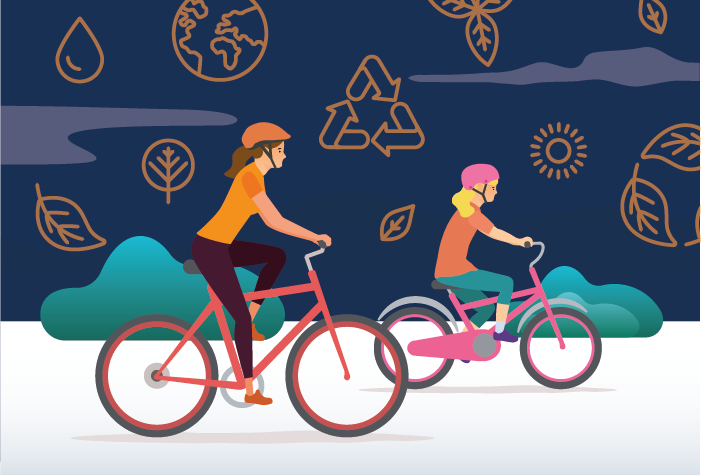
- Climate Action Carmarthenshire
- Performance Management
- Strategies, plans and policies
- Transformation
- Information Governance
- Meeting Rooms
- Finance & Payments
- Procurement
- Social Services and Housing
- Corporate Safeguarding
- Travel & Parking
- Mapping (GIS) and LLPG
- Supporting causes
- Place, Infrastructure & Economic Development
- Workplace Recycling
- Risk Management
- Closed Circuit Television (CCTV)